Article 17: How to create and send an invoice
How to create and send an invoice
Snook lets you create invoices directly from your laundry jobs, so you don't need to enter all the details again.
You can check the laundry weight, adjust prices, preview what your customer will see and send the invoice when you're ready.
Create an invoice
Open Jobs.
Select the job you want to invoice.
Scroll down to Invoice.
Select Create invoice.
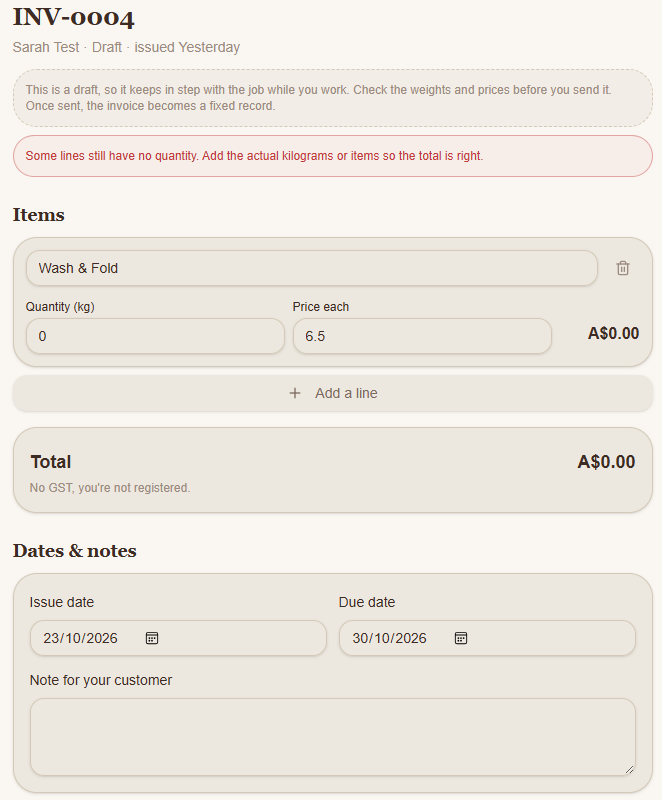
Check the services and prices listed on the invoice.
Enter the actual laundry weight or quantity for each service.
Check that the invoice total is correct.
Snook automatically calculates the total using the quantity and price entered.
You can also select Add a line to include another service or charge.
Check the dates and notes
Under Dates & notes, you can review the invoice issue date and payment due date.
You can also add a note for your customer, such as payment instructions or a message about their laundry.
Preview your invoice
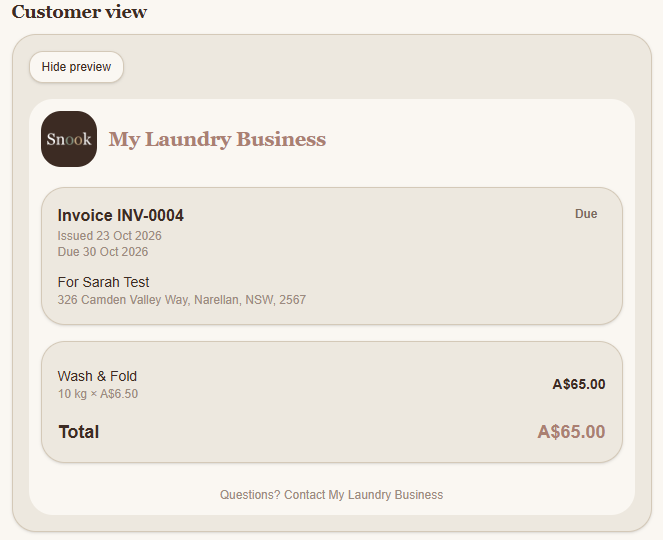
Before sending an invoice, select Preview as customer.
This shows you how the invoice will appear to your customer, including your business details, invoice number, dates, services and total.
Check everything carefully before sending.
Send your invoice
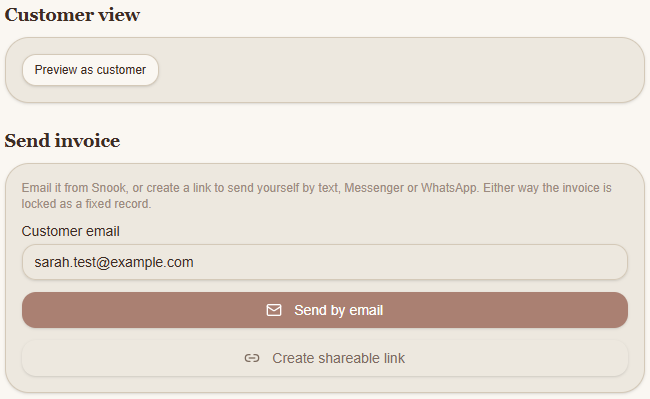
Once you're happy with the invoice, you have two options.
Send by email
Enter or confirm the customer's email address, then select Send by email.
Create a shareable link
Select Create shareable link to generate an invoice link you can send yourself through a text message, Messenger or WhatsApp.
Both options turn the draft invoice into a fixed record.
Can I change an invoice after sending it?
While an invoice is still a draft, it stays in step with the job as you work.
Once you send the invoice or create a shareable link, it becomes a fixed record.
Make sure the laundry weight, prices and customer details are correct before finalising it.
Need help?
Still need a hand? Email us at support@snookapp.au and we'll be happy to help.